|
by Michael Avila Photos and text Copyright © 2001, Michael Avila |
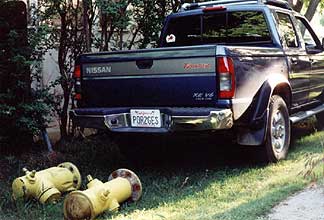 "I get my hydrants from the City of Modesto Water Department, I think I'm a regular. The people that work down there are great and help out a lot." |
|
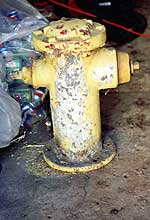
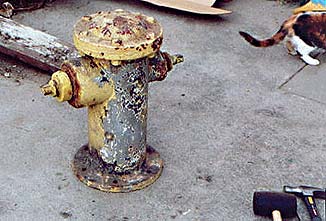
 "To remove the majority of the old paint I used the point end of a hammer to pick away at the paint, I found it is time consuming but does a great job by not wearing away at my Dewalt angle grinder or wasting sand. I use a sand blaster on the more difficult places to reach." |
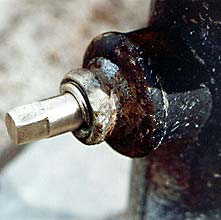
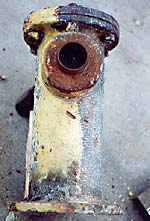
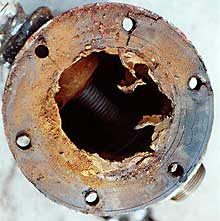
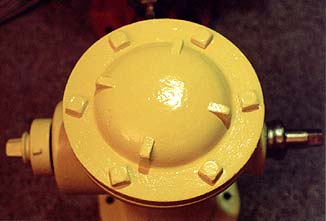
 "Notice that lead is used instead of the threading method that is used now." |
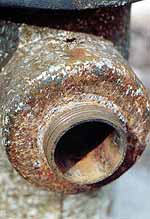
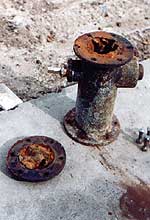
| Before and after top removal. | ||
| ||
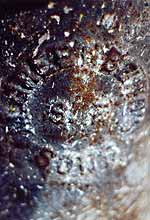
| "There was a lot of build up inside." | ||
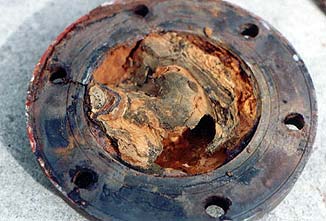 | ||
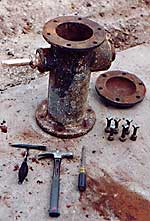
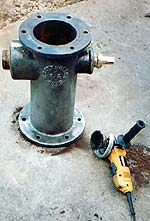 Photo at left:"Those three tools were what I used for removing the paint and the inside build up." Photo at right: "My two different kinds of wire brushes help a lot in restoration." |
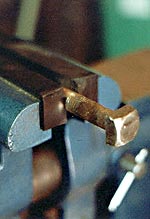
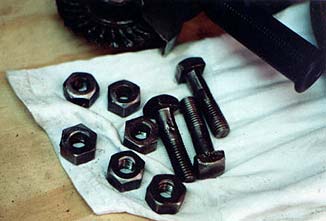
| The grinder and a vise are convenient for cleaning up the square head bolts. | |
 | |
| Masked, primed, then on to the final coats of paint. | |
 | |
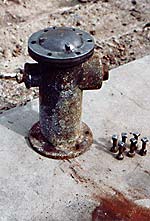
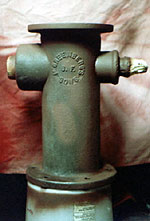
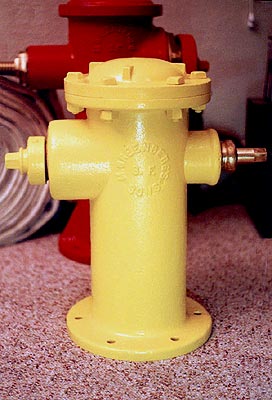 The finished hydrant on display. |
|
Unless otherwise noted, all contents of these WWW pages © 1996-2001, FireHydrant.org |